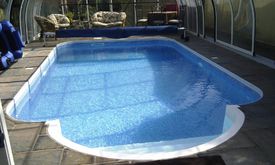
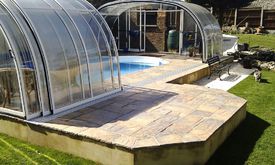
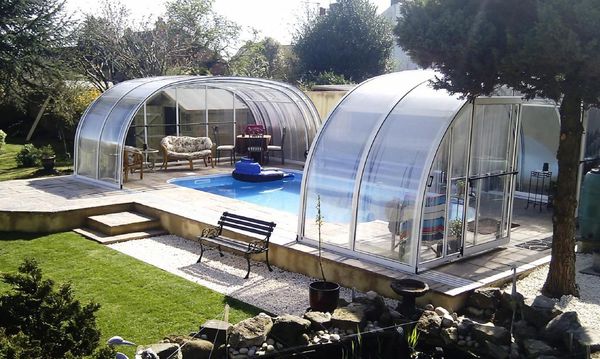
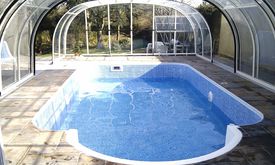
19' x 12' Kafko In ground Pool and IPC Enclosure Project.
Our clients asked us to plan and install the project which included the pool, a patio surround and enclosure.
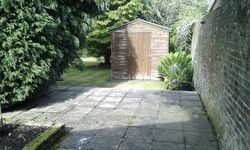
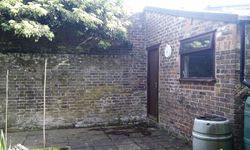
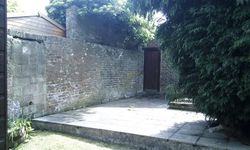
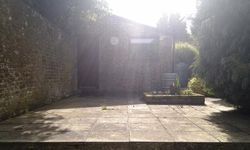
Initial survey Pictures
The Plan
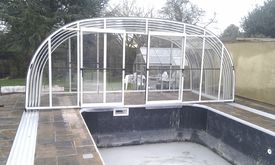
On our initial site visit we took all the necessary measurements and discussed the various options. A plan was drawn up, for the installation of a 19' x 12' Kafko polymer panel kit with 8ft Roman end step and a 10m x 5.5m IPC 'Laguna' enclosure.
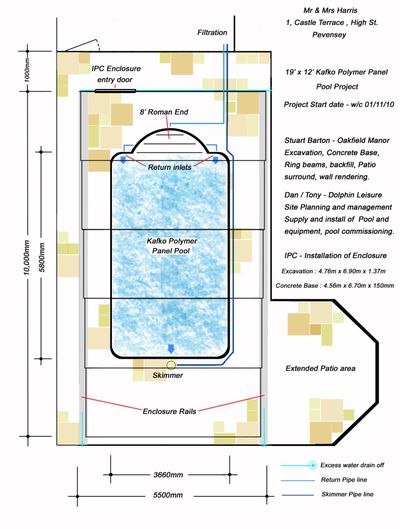
Pool shell installation
After excavation and the concrete base laid the wall panels are put together in a matter of hours. The blocks for the other wall of the patio was constructed. The Aluminium Coping screws into the top of the wall panel. The 8ft roman end fitted into the wall at one end to allows access directly when entering the enclosure.
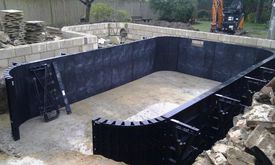
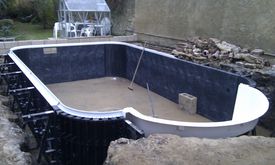
The Kafko pool kit requires two ring beams of concrete. Ring beam 1 - to a depth of 150mm. Then fit the Skimmer and return fittings, niches for underwater lights and run 1.5" hard pipework to the plant room.Then backfill with MOT Type 1 or Hardcore to 150mm below the top of the wall panel. Ring beam 2 - 150mm deep up to the top of the wall panel.
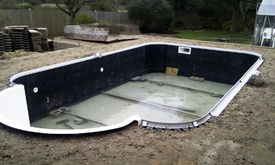
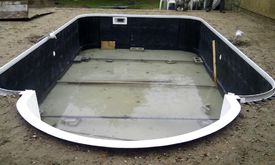
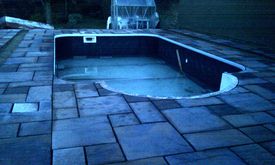
The paved surround was then laid up to the aluminium coping making sure that the deck boxes and skimmer lid are are set parallel and level with the pool.
IPC Enclosure Installation
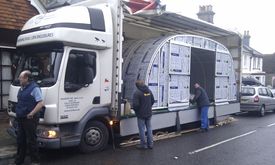
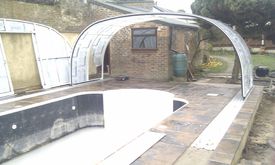
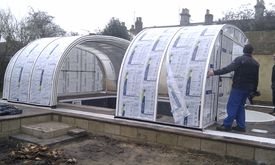
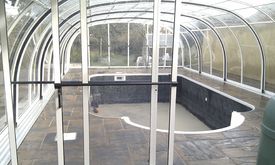
The IPC enclosure was made specifically for this project and so the measurements for the rail channels had to be exact. When the enclosure arrived the rail was secured and the enclosure did fit in EXACTLY as planned, 'phew!'. Our clients were delighted as it gives them complete versatility as to how they want to use the pool. In five sections, each independent from the others. On a dull day completely enclosed, on a sunny day completely or partially open. I predict all year round swimming for our clients.
Insulating the pool
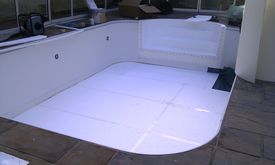
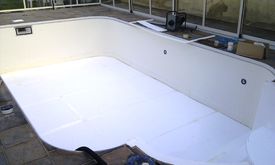
We used 50mm 8' x 4' sheets of 'Jablite' floor insulation, which although not an actual swimming pool product works extremely well for the pool base. By doing this, the floor has a lovely soft feel under foot, and is well insulated for the heating systems used on the pool. On the walls we used 8mm insulation foam. Before installing the liner it is necessary to sweep the base and cut the foam around any pool fittings i.e. Skimmer openings, returns, underwater lights and Roman end step.
Installing the Liner
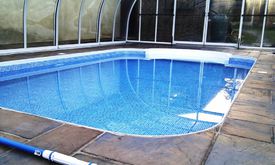
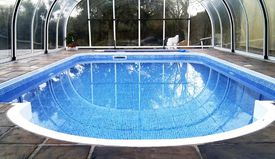
The 'Mosaic Tile' liner is manufactured so it fits perfectly into the pool shell. We fitted the liner under the protection of the enclosure. The 'Kafko' aluminium coping has the bead receiver built in, so fitting the liner is a quite straight forward job. Normally we use a liner vacuum to suck the air out from behind the liner which removes most of the packing creases and wrinkles. On this occasion we pushed out the wrinkles on creases by hand.
At various levels during the fill up the water is turned off to fit the face plates for the step, lights, returns and skimmer.
Project Completion
We have three forms of heating on this pool.
